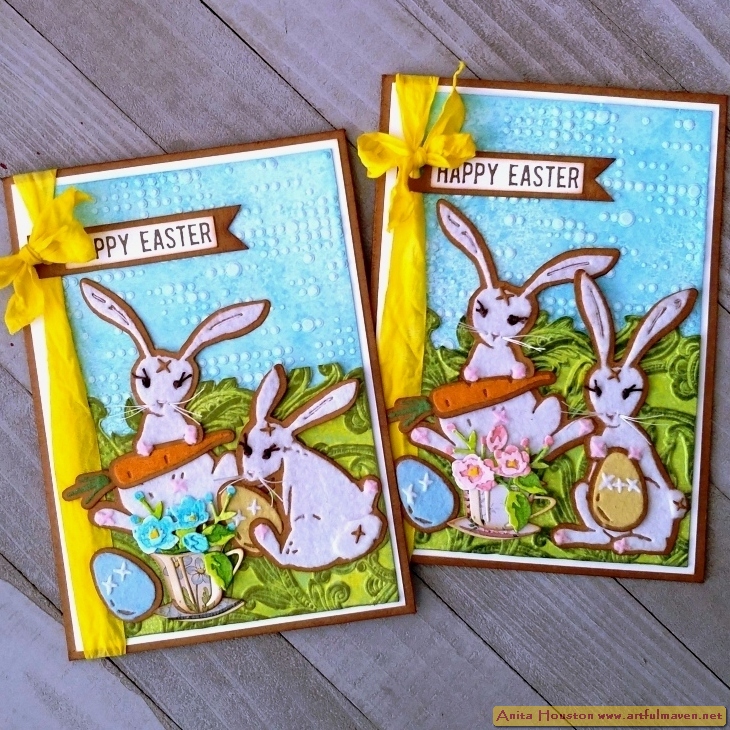
Hello Everyone! Thanks so much for all the comments on my last post on IG! Today, I have an Easter make from the Re-Release of Stamps and Stencils from Stamper's Anonymous and Tim Holtz. I just adore the Blue Prints sets, and had fun with all the bright colors on this. Enjoy!


Cut a piece White Heavystock
to 3.5 x 8.5”. Place the paper in the platform and add the bunny from the
Blueprints set to the top middle, and the egg right below. Stamp in Black Soot
Archival from Ranger nice and dark. Add two sided tape to the back of the paper to keep it
flat for the next parts.

Place the wording
Hippity Hoppity vertically to the top left and Got Candy vertically on the
bottom right (from the Spring Shadows or Mixed Media Stamp/Stencil Set) on the
paper in the platform. Ink the words with a combination of Picked Raspberry,
Mermaid Lagoon, and Fossilized Amber Archival Inks, and stamp. The colors will
blend to give you a rainbow look. Place the stitches from the Spring Sprung set
on or use a stamping block if it's easier, and stamp repeatedly in the same
colors down the left side and up from the right side. Use a Deckle Trimmer to
trim off both sides of the paper.

Cut and fold a Kraft
Cardstock base to 4 x 9 inches, and set aside. Cut another pieces of White
Heavystock to 3 7/8 x 8 7/8. Take the stencil from the Mixed Media Spring
Shadows set (THMM163), and Distress Inks in Mustard Seed, Mermaid Lagoon, and
Picked Raspberry, as well as Mini Ink Blending Tools. Stencil in the plaid
portion of the stencil alternating the ink colors to create the plaid pattern.
Ink the edges of this and the card base with Brushed Corduroy Distress Ink.
Mount the plaid onto the card base.

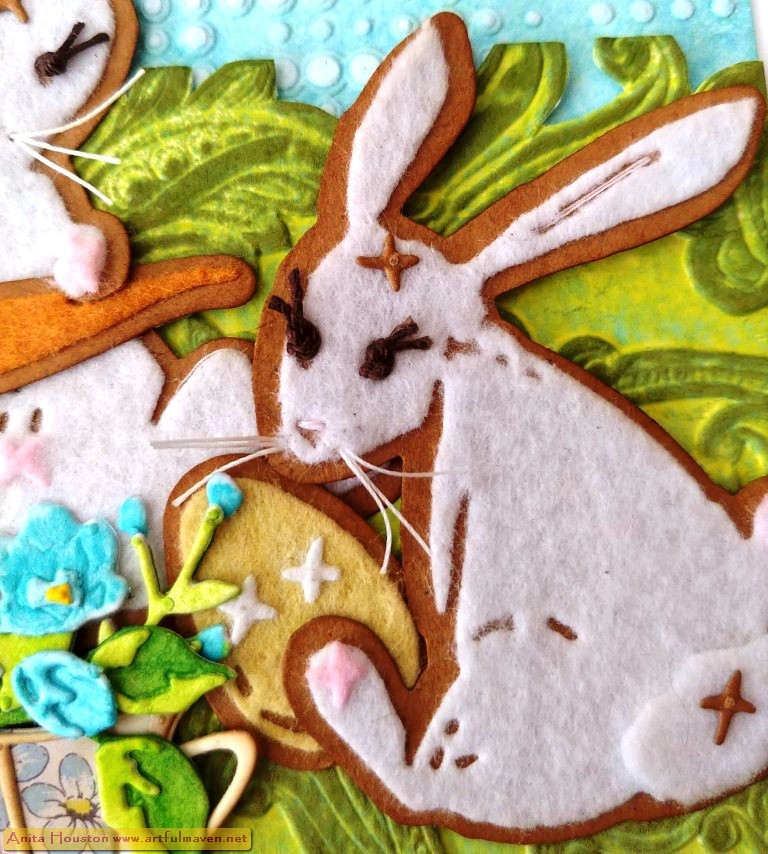
Ink the edges of the
bunny and egg with Brushed Corduroy, and mount onto green cardstock, then trim
around the green closely making only a slight border. Add foam tape to the back
and mount onto the card front. Using the same Distress Ink colors straight from
the pad and a Detail Waterbrush, color in the titles, bows, grass, flowers, and
egg designs. Use Stickles in coordinating colors to fill in the bows, flowers,
and egg designs. Let dry.


Supplies:
(Paper Trimmer, Stamp Platform, Two
Sided Tape, Scissors, Stamping Block, Deckle Trimmer, Ink Blending Tool, Mini
Ink Blending Tool, Foam Tape, Detail Water Brush)
-Ranger Tim Holtz Distress Heavystock:
White
-Stamper’s
Anonymous Tim Holtz Stamp Set: Mini Blueprints 2 (CMS146), Spring Sprung
(CMS084), Spring Shadows (CMS393)
-Ranger Tim Holtz Distress Archival Ink:
Black Soot, Picked Raspberry, Mermaid Lagoon, Fossilized Amber
-Stamper’s
Anonymous Tim Holtz Mixed Media Stamps/Stencil: THMM163 Spring Shadows
-Ranger Surfaces: Kraft Cardstock
-Ranger Tim Holtz
Distress Ink: Brushed Corduroy, Mustard Seed, Mermaid Lagoon, Picked Raspberry
-Ranger Stickles: Yellow,
Sea Glass, Glam Pink
-Green Cardstock
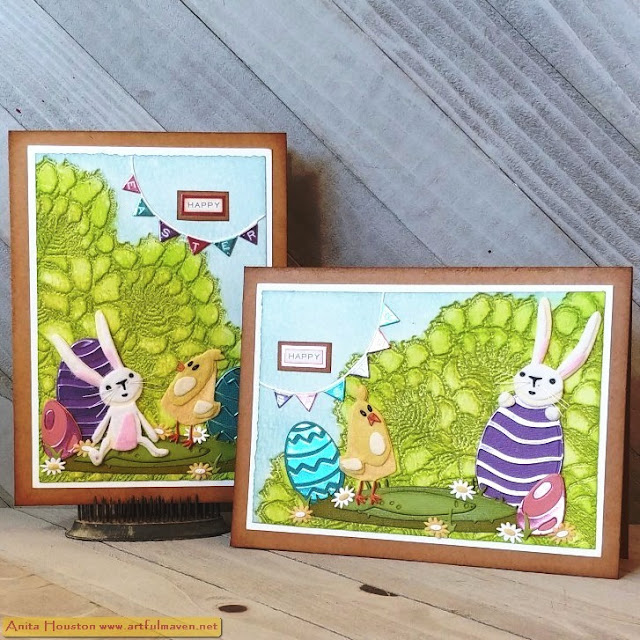
Thank you so much for stopping by. I'll be back again with one more Easter make. Until then, I hope your hands get creatively dirty soon!