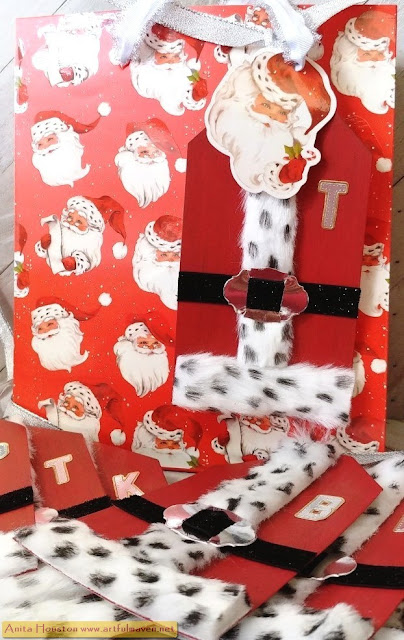
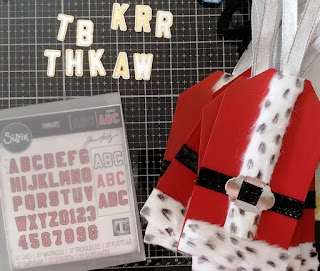
Hi everyone! How about that crazy long title?!! I could add more to it with all I have to show you. This post was originally going to be six different posts with full tutorials, but time has gotten away from me, so I am combining them with no tutorial, sorry about that. Life has taken a turn onto the crazy highway for me. Anyway, I challenged myself to use the
Tim Holtz Stamper's Anonymous Bold Tidings Mini Stamp Set with the
Sizzix Stacked Tiles Triangles Thinlits as trees, all on four different bases (
Bigz L Pillow Box, Mini Envelope, Pocket Envelope, and #5 Tags all made from
Ranger Kraft Heavystock) in six different styles (Farmhouse, Industrial, Mixed Media, Retro, Shabby Chic, and Vintage), for giving away Christmas gift cards, money, small trinkets, and of course for gift tags. I made 17 using these six styles, which are the genres I LOVE and always keep in mind when I am creating. All of these incorporate many dies, stamps, stencils, texture fades, mediums, ephemera, embellishments, and paper, all from Tim Holtz, but I am only listing the main supplies used and pertinent descriptions under each group photo. You will be able to pretty much see what I used from the pictures though. Again, I am sorry to not have the tutorial, but the descriptions should help if you decide to make some yourself. Hope you enjoy these, and hope they spark some ideas for your Christmas gift makes!

Farmhouse Christmas Gift Envelope and Pocket Envelope
Fun to make. The Merry Little Christmas is made with the Sizzix Envelope Bigz Large Die, and the tree with one XL and one large Stacked Tiles Triangles (There are 5 sizes I call XL, Large, Medium, Small, and Tiny) and a tiny Triangle for the trunk. Wood grain paper was added to the tree and background with embossed snowflakes. The Happiest Season of All is made from a Pocket Envelope Big Large Die and three of the tiny Triangles, on Christmas ephemera and paper, and frame out with more wood grain paper.
Industrial Christmas Gift #5 Tag, Pillow Box, and Pocket Envelope
The Stars Brightly Shining is a #5 Tag, embossed with Starry Night Fade, and tree made from 5 medium Triangles and trunk with the tiny triangle, all embossed with the Pocket Watches Fade, and distressed with Distress Paint. The Be of Good Cheer is on a Pillow Box, embossed with Snowflake Pattern Fade, and tree made from three XL and one tiny Triangle, embossed with the Riveted Metal Fade and painted over. The Believe in Magic is on the Pocket Envelope Big Large Die, and embossed with the Diamond Plate Fade, and the tree made with one XL, one large, and one medium Triangle, with the base a tiny Triangle, all embossed with the Gears Texture Fade and painted. I think I had the most fun making these three.
Mixed Media Christmas Gift Pocket Envelope, Mini Envelope, and #5 Tag
Although all 17 of these are Mixed Media technically, these three have that traditional Mixed Media look and use more mediums than the others. The Jingle All the Way is on a Pocket Envelope, with background and tree colored from Alcohol Inks, Alloys, and Pearls on Yupo. The background is also stenciled in with Grit Paste through Snowflake Stencil. The tree is made from two medium and one small Triangle, and embellished with Twinkle Stickles. The Merry and Bright is on a Mini Envelope, and I was going for an Andy Warhol look. Sheet Music was collaged and painted over and cut into four rectangles, each heat embossed with Oxides and powders in coordinating colors. The tree is one lone mini Triangle painted over and Stickled. 'Tis the Season is a #5 Tag with painted background and Grit Paste with Snowflakes stenciled in along with Stickles, and the tree with painted background using one XL, one large, and one medium Triangle. The sentiment is on a painted background as well.


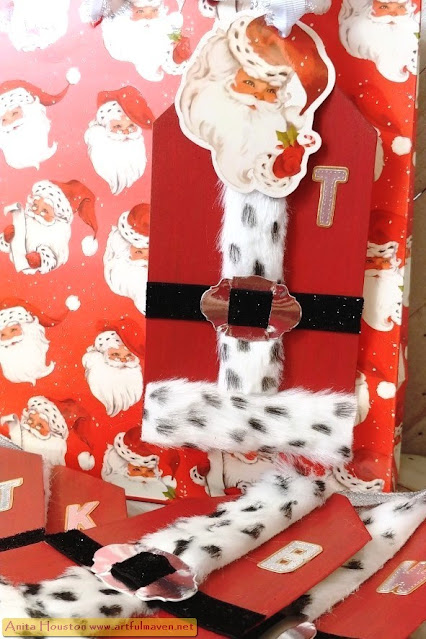
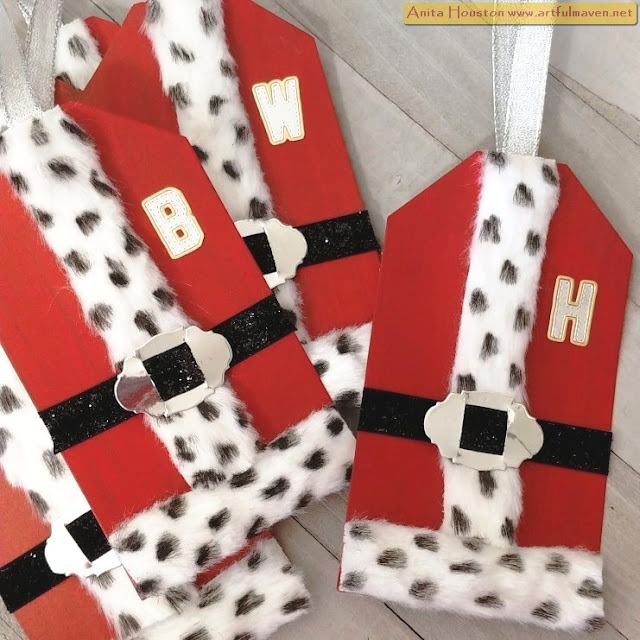
Retro Christmas Gift Pillow Box, Mini Envelope, and #5 Tag
Super super fun to make. For the Good Tidings Pillow Box, use XL, large, and tiny Tringles to form a tree and cut out from a sticky note to make a mask. Use ink to ink in tree onto background. Use Distress Crayons to color in stripes of the sweater. Heat emboss sentiment. Home For the Holidays is on a Mini Envelope. Create hills and background with paper. Die cut car from Home for the Holidays Thinlits. Cut three tiny Triangles for tree, and attach above car. Use Crayons to color in. Add Grit Paste. Making Spirits Bright is on a #5 Tag. Use Oxides to create a diagonal striped background like Northern Lights. Add stars and sentiment. Cut houses from Paper Village Thinlits, and tree from three tiny Triangles. Add Grit Paste.
Shabby Chic Christmas Gift Pillow Box, Mini Envelope, and #5 Tag
I was proud to make these for some reason. These three are made with lots of things from my old stash, like my wedding dress scraps, pearl ribbon, tinsel, and lace ribbon. I also used handmade paper made by my daughter for all the trees, which is nice and mealy and thick. Music Note paper is collaged on the background of all three of these, then white washed over and stamped on. All is Calm is on a Pillow Box. Strips of lace are stitched on the top and bottom. Tree is cut from three large, one medium, and one tiny triangle and inked in Speckled Egg and sentiment heat embossed. Pearls are added. Love Peace Joy is on a Mini Envelope. The Hearts are cut from Heartfelt Bigz Die and embossed with Kaleidoscope 3D Fade. Tree is cut from two small and one tiny Triangle, and inked in Tattered Rose. Sentiment is stamped onto translucent ribbon and sewed on. Peace on Earth is a #5 Tag. Liquid Pearls make the background. Tree is cut from large, medium, and small Triangles and Glitter Dust over with Rock Candy. Tinsel is added. Sentiment is a rectangle hand cut base.


Vintage Christmas Gift #5 Tag, Mini Envelope, and Pocket Envelope
I so had fun with these as well. All three of these use the same Christmas Words background paper. Holly Jolly Christmas is a #5 Tag. Ink background in Rustic Wilderness, stamp sentiment on Kraft and cut around in present shape. Add doll above present and color with Crayon. Cut four small and one tiny Triangle for tree, and emboss with Drapery Fade. Ink in design. Dashing Through the Snow is on a Tiny Envelope, and background inked in Speckled Egg. Hand cut hills are added with the doll. Cut two small and one tiny Triangle for the tree and emboss with Pine Branch Fade. Add Grit Paste for snow. Joy to the World is on a Pocket Envelope. Ink background in Speckled Egg. Die cut Globe from Vintage Globe and Fan Mini Set colored with Speckled Egg and Rustic Wilderness, and add sentiment over. Cut three mini Triangles for tree and ink then emboss with Chevron Fade. Add doll and color in.


I really had the best time making all of these, and love each little one. I've got one more post to show you before Christmas. I was hoping to get a few more things done, but time is up. Thank you so much for stopping by! I hope your hands get creatively dirty soon!