
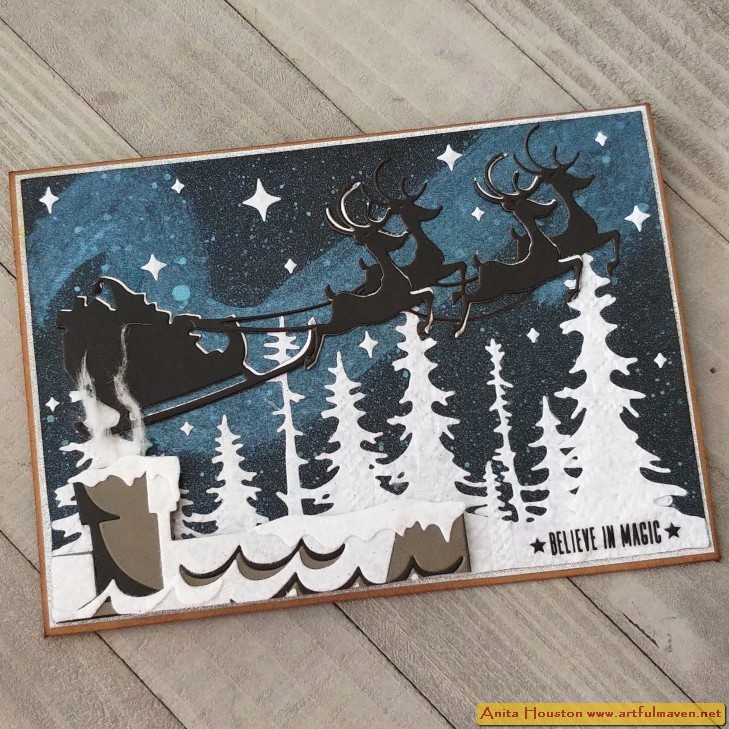
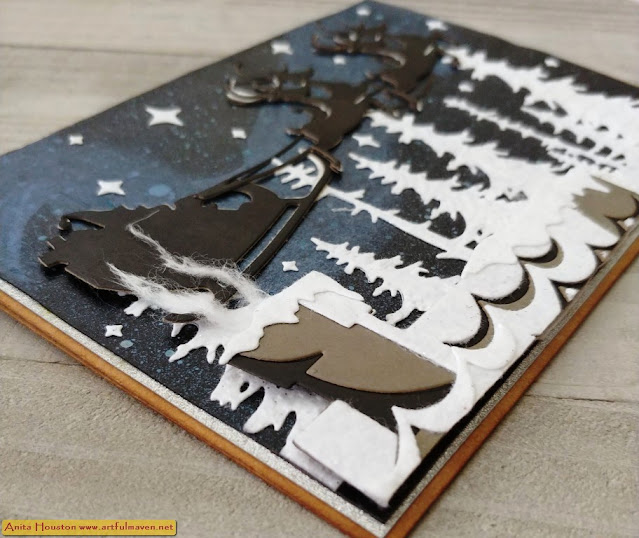
Hi Everyone! I know I always say it, but that Tim Holtz Sizzix Christmas LIVE was mind blowing! After every single one my mind is filled with ideas, and to tell you the truth I never feel worthy to be apart of it. The makers are awe-inspiring to say the least. Here is my first make using the new Forest Shadows and Reindeer Sleigh Thinlits, as well as the Holiday Knit Multi Level Texture Fade. This card was pretty easy to put together once I finished the sky which took me a few tries until I liked it. Hope you enjoy!
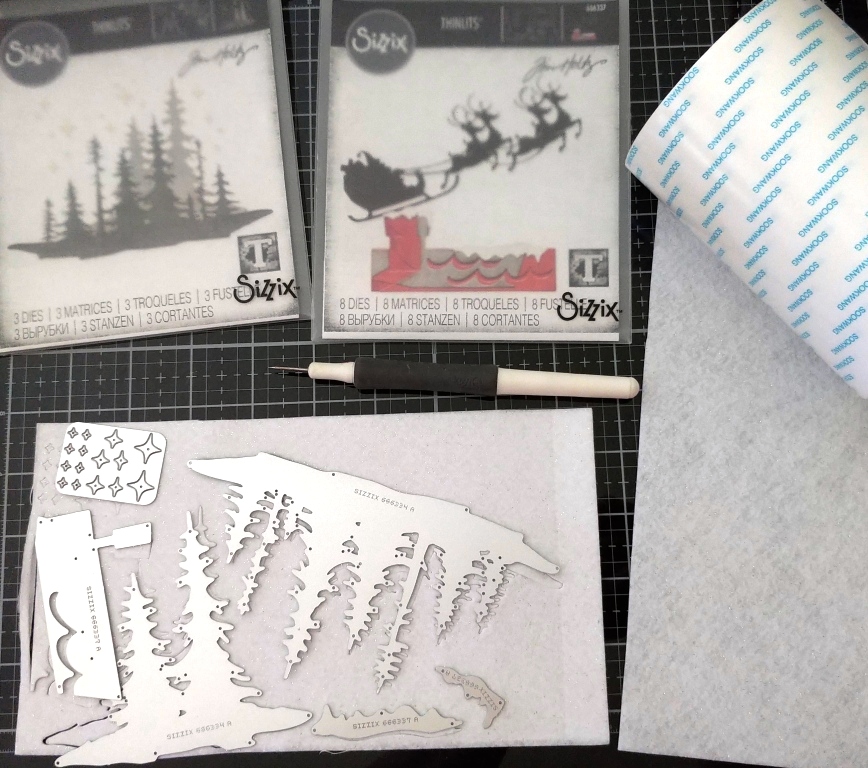
Using a glittery white
felt that I added two sided tape to, I
die cut both of the trees and stars from the Forest Shadows, as well as the
snow parts from the Reindeer Sleigh. I don't think the roof part (the three
part) that I used is meant to be snow, but I liked that it looked like snow
drifts so that is why I used it for the snow. I set the roof, snowy parts, and
stars apart until ready.

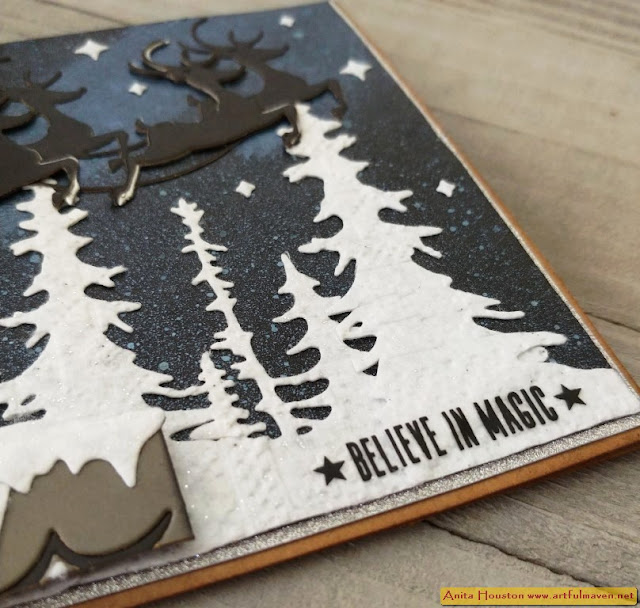
Taking the two tree
lines, I placed them inside the Holiday Knit Multi Level Texture Fade, and ran
them through the machine a few times for a wonderful textured look. It's so cool that you can emboss felt.
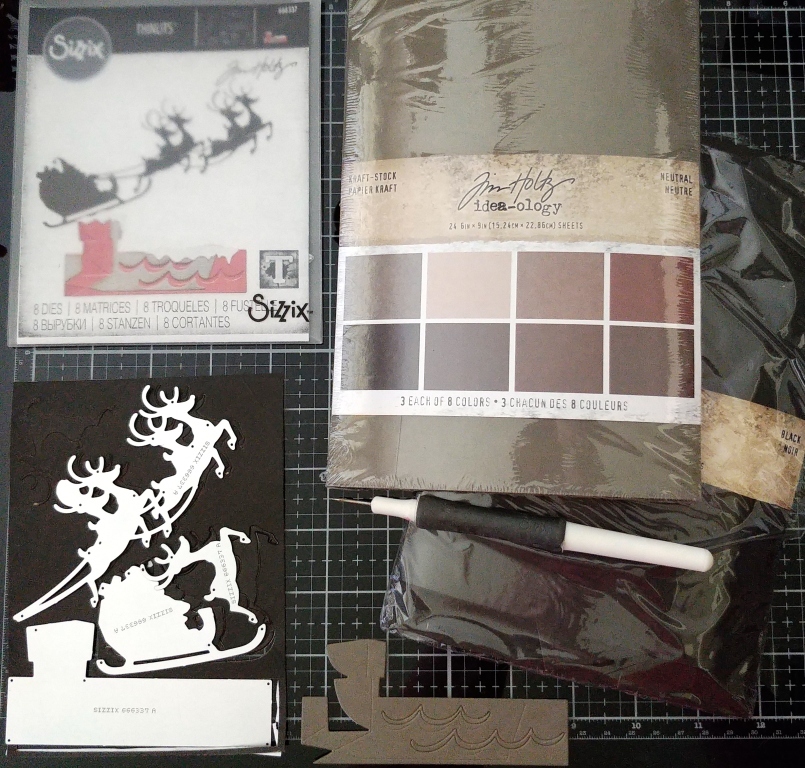
Using gray Kraftstock
with two sided tape on the back, I die cut the second roof part. Then using
Black Kraftstock with two sided tape on the back, I die cut all the other parts
from the Reindeer Sleigh Thinlits, and the single reindeer again. I assembled all the pieces for the roof part,
then set everything aside.

I cut a piece of Black
Kraftstock to 4.75 x 6.75. Using Prize Ribbon Distress Oxide from Ranger and an
Ink Blending Tool. I inked over the top portion of the sky in a flourish type
of shape for a swooshing effect. I shook up the Winterfrost Distress Mica
Stain, poured out a bit, and then painted over the flourish. Then I lightly
misted over the top with it.

I poured out a bit of
Picket Fence Distress Paint, misted a tiny bit of water in it, and then used
the Splatter Brush to pick it up, and then I strummed the bristles over the
paper to create white dots for a starry and snowy look. I let this dry

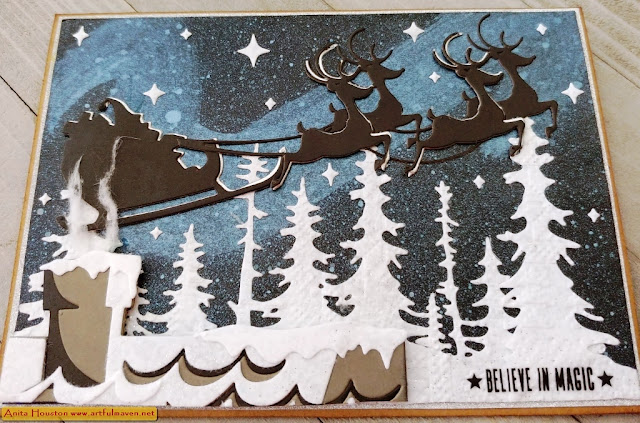
I layered on all the tree
die cuts, and trimmed off the overage. I cut a bit of the bottom of the rooftop
off to be able to see more of the trees, and added foam tape to the back. I
took a cotton ball and pulled some cotton off and pulled it to elongate and
rubbed it between my fingers. I shaped it into wisps to look like smoke and
used Collage Medium to adhere it behind the chimney stack only and did not
secure the tops yet.

I cut and folded a
Kraft Cardstock base card to 5 x 7 inches, and inked the edges with Walnut
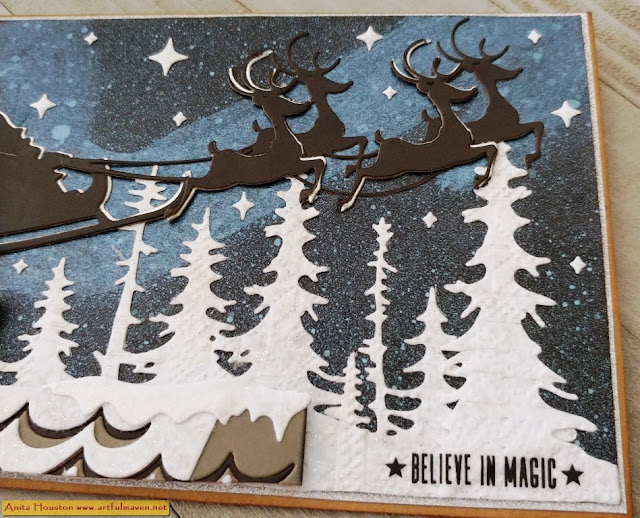
Stain Distress Ink. I mounted the Silver
Sparkle Kraftstock over cut to 4 7/8 x 6 7/8 inches, then mounted the card
front on. I die cut the sleigh and reindeer again using the Silver Sparkle
Kraftstock to layer the black pieces on top slightly off to give the appearance
of a highlight, but I decided to only go with the two closer reindeer and
sleigh as it was just a little too much going on, so I'll save that piece for
another project. I cut off the sentiment from the Christmas Remnant Rubs and
used the rub on tool to adhere the rub on over the lower right corner on the
snow. The rub ons worked fabulously on the felt. To finish up I adhere the
stars on.


Supplies:
(Two Sided Tape, Scissors,
Die Cut Machine, Die Pick, Paper Trimmer, Ink Blending Tool, Paint Brush, Splatter
Brush, Foam Tape, Remnant Rub Tool)
-Sizzix Tim Holtz Thinlits (Christmas 2023): Forest
Shadows, Reindeer Sleigh
-Sizzix Tim Holtz Multi Level Texture Fade (Christmas
2023): Holiday Knit
-Tim Holtz Idea-ology:
Black Kraftstock, Neutral Kraftstock, Sparkle Classic, Christmas Remnant Rubs
-Ranger Tim Holtz
Distress Oxide: Prize Ribbon
-Ranger Tim Holtz
Distress Mica Stain: Winterfrost
-Ranger Tim Holtz
Distress Paint: Picket Fence
-Ranger Surfaces: Kraft
Cardstock
-Ranger Tim Holtz
Distress Ink: Walnut Stain
-Ranger Tim Holtz
Distress Collage Medium: Matte
-Glittery White Felt,
Cotton Ball
Thank you so much for stopping by and especially for commenting! I will be back next week with the second project from the Live. Until then, I hope your hands get creatively dirty soon!


Thank you so much for detailing your process. I really loved seeing this on Tim’s Live and was happy to find out how you made it. Great card 😁 Carol.
ReplyDeleteLove your work, this one is deep and dark and mysterious but in a happy way. Also loved the two slimlines you did for the LIVE. So elegant. Can’t wait to see your process.
ReplyDeleteFabulicious thank you so much
ReplyDeleteThis card is so beautiful, and I so appreciate your detailed tutorial! Thank you so much!
ReplyDelete