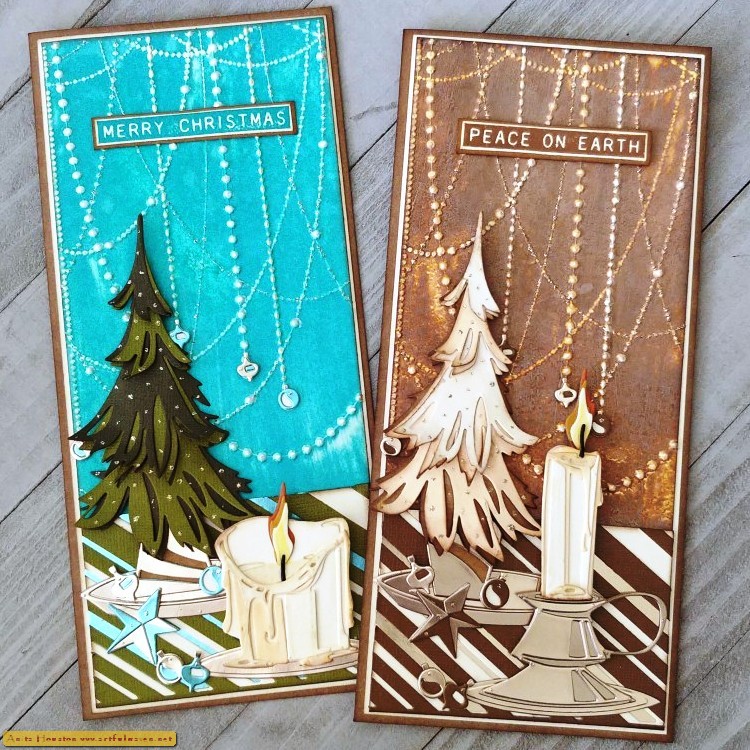
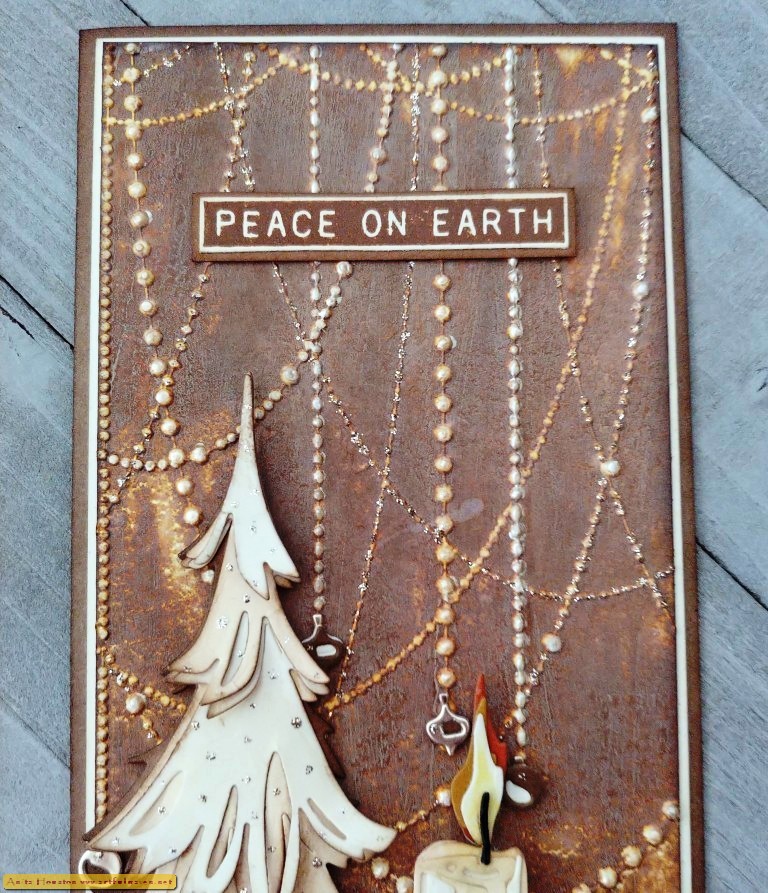
Hello Everyone! Here is my other project from the Tim Holtz Sizzix Christmas LIVE from last week. These two were made with the Layered Stripes, Colorize Trim A Tree, and Colorize Candleshop, along with the Sparkle 3D Texture Fade. I am in love with the Sparkle Fade. These beads looks totally real...gotta love the 3D technology. Really, I am in love with all the dies from this release. Tim knocked it out of the park. Enjoy!

Cut two sheets of Ivory
Mixed Media Cardstock from Ranger the same size as the Sparkle 3D Texture Fade.
Take Gathered Twigs Distress Oxide and rub it over the larger side of the
Sparkle Texture Fade, completely covering it. Working quickly, lightly mist one
sheet of the Cardstock and place it into the Fade. Rub through the machine a
few times and remove. The ink should have transferred to the paper. Clean the
fade with water, and repeat, this time with Peacock Feathers Oxide and the
other sheet. Let them dry. Cut and fold two Kraft Cardstock base cards to 4 x 9
inches.

Ink around the base
cards with Walnut Stain Distress Ink. Cut two pieces of more Mixed Media
Cardstock to 3 7/8 x 8 7/8, and mount onto each base card. Take the two Sparkle
embossed pieces and trim off both long side to make each 3.75 inches wide. Ink
the edges of those with the Walnut Stain, add two sided tape and adhere those
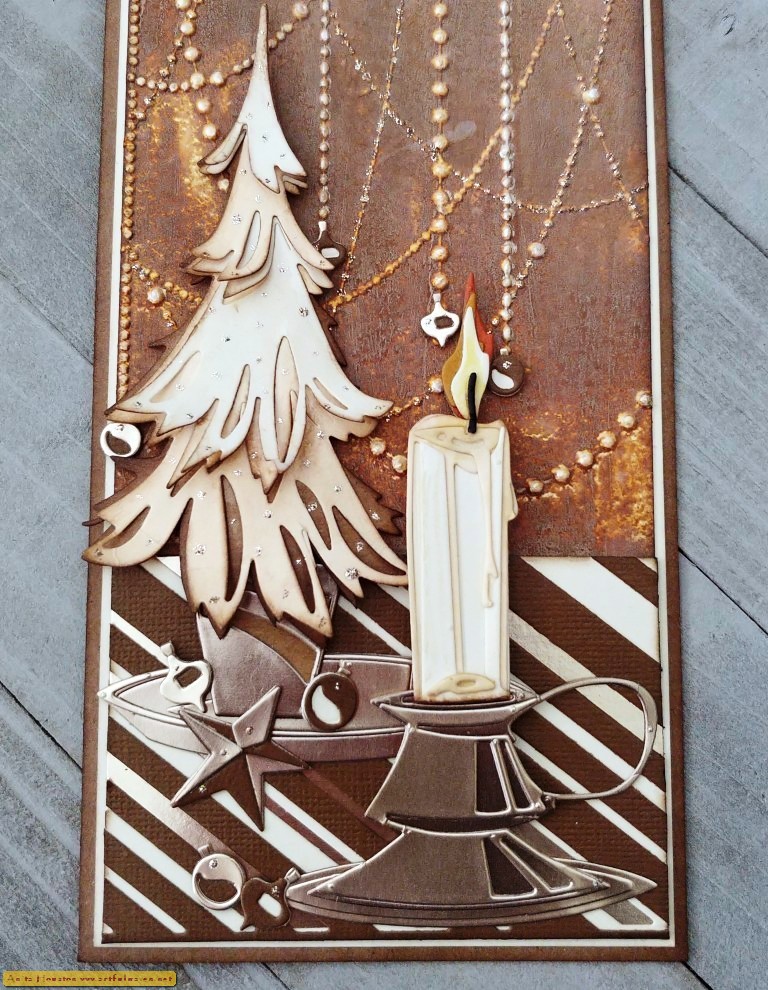
to the top of the base cards. Take the Layered Stripes Thinlits and papers from
the Classic Kraftstock (a brown and a green) and papers from the Metallic 3
Kraftstock (platinum), with more Mixed Media Cardstock and cut the pieces for
the dies (solid piece using the Mixed Media, next using a Metallic, and last
using the colored Kraftstock for each one. Assemble the pieces using two sided
tape. Trim each of these to 3.75 wide by about 2.5. Ink the edges with Walnut
Stain, and adhere to the bottom of the base card.
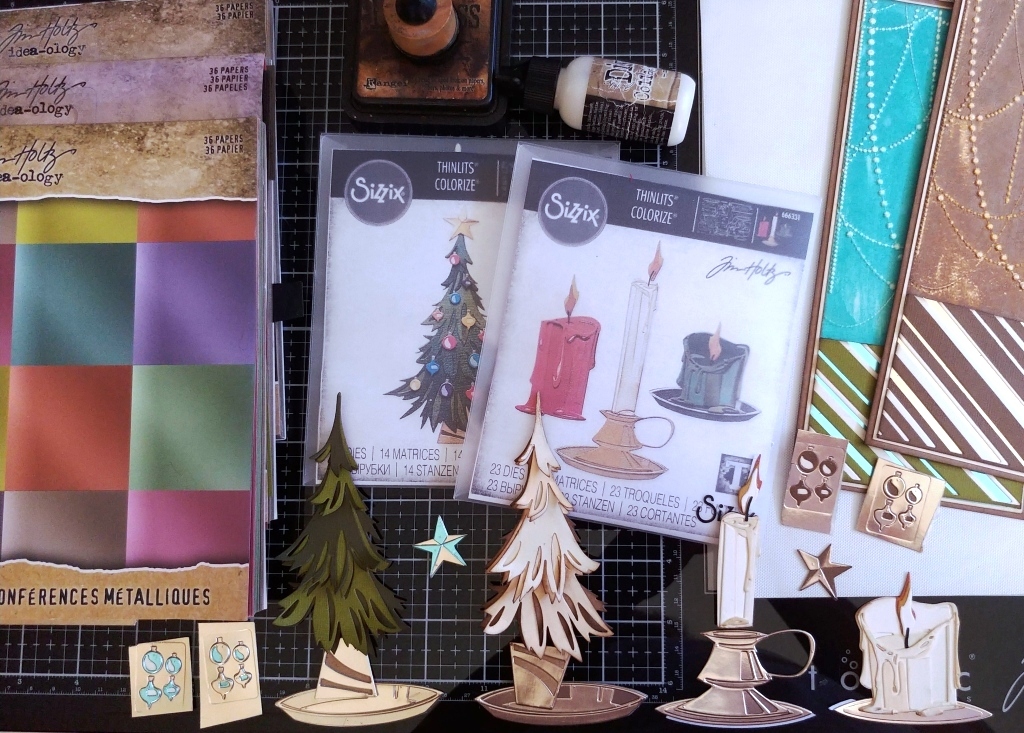
Using the same papers,
plus adding the brownish Metallic one from the Confections Metallics, adding
regular Kraft Cardstock, adding Manila, and adding another green, die cut the
pieces for the two trees (don't die cut the largest piece as you don't need it,
and use Kraft for the very bottom layer, and alternating manila and Mixed Media
for the layers on the white one, and alternating greens for the green one), the
pots, one candle stick with thin candle (alternating the brown and platinum
Metallic for the metal and alternating manila and Mixed Media for the candle),
one shorter candle (alternating manila and Mixed Media), two flames (manila,
orange, yellow and black for wick), two stars, 8 ornaments for each card
alternating the colors of them, and two candle stick bases (brown and platinum
Metallic) (saving that inside piece for base trays for the candlestick and
short candle). Confusing a little but
just refer to my pics as I didn't take more photos, sorry. Cut the thin candle
shorter so it doesn't cover up the ornaments that will go on the Sparkle part. Ink the pieces lightly with Walnut Stain and
them assemble using two sided tape and Collage Medium. For the buckets, I flipped
each one a different way just for fun.

For the two candles, take
the Antique Linen Distress Watercolor Pencil and a Detail Waterbrush or
paintbrush and using a little water, color around the darker portions of the
candle for a little more depth, especially in the center where the hot melted
wax would be. Use the Mustard Seed Pencil to add a little yellow around the
wick area of the flame. Unscrew the bottle of Distress Resist Spray and dip a
brush in. Paint over the hot wax areas for a little hot wax sheen. Wash your
brush immediately after.
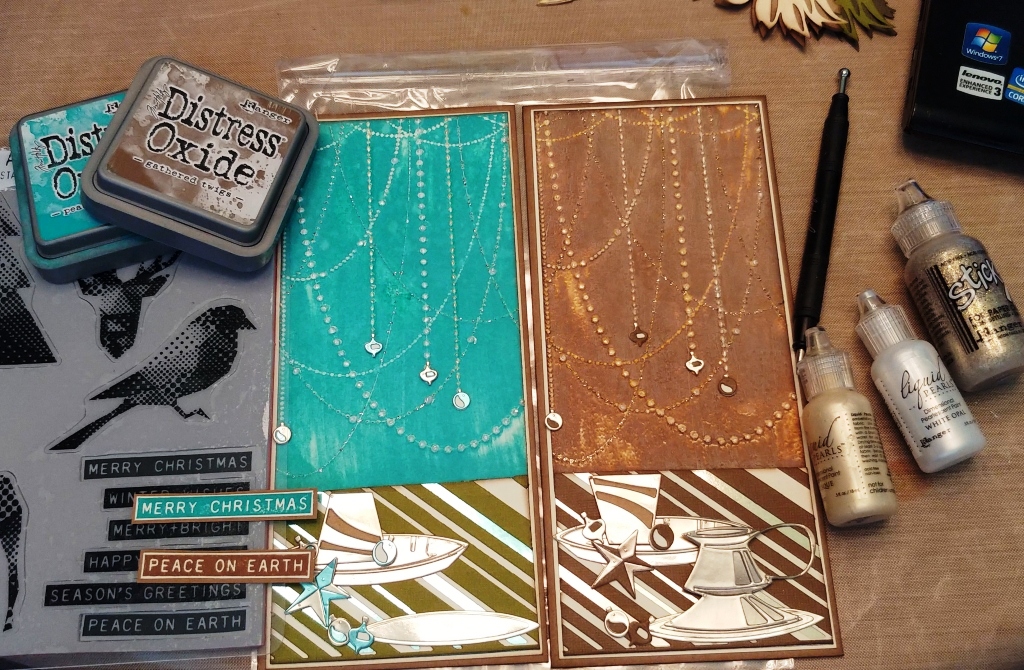
Adhere everything except
the candles and trees to the bottom portion of the cards. Adhere four of the
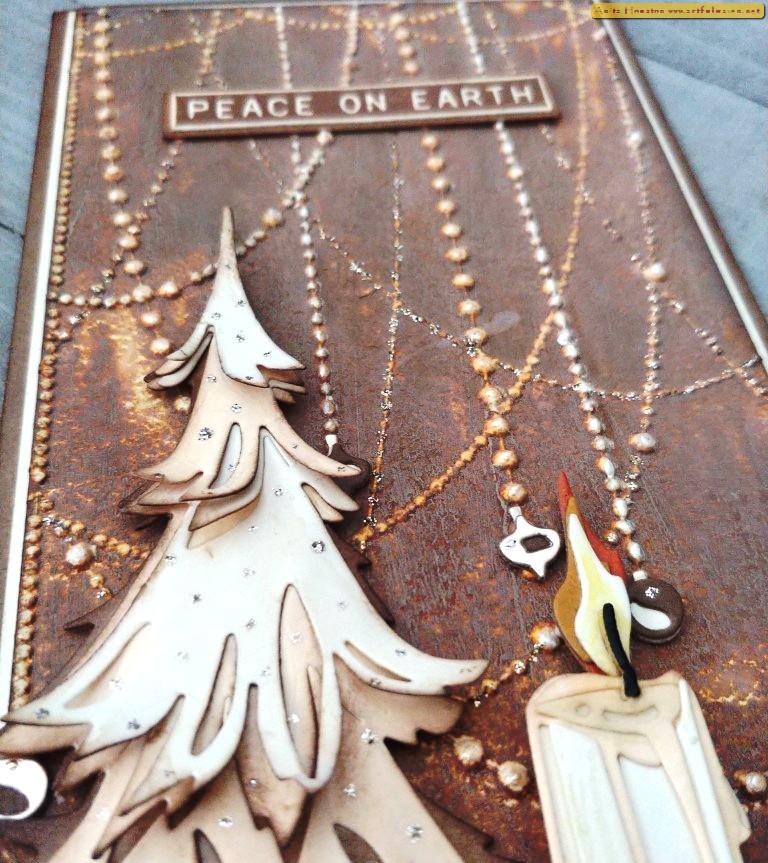
ornaments to the bottom parts of the dangling garlands. Stamp the sentiments
with the same colors of Oxide from the Modern Christmas Stamp Set from
Stamper's Anonymous onto Mixed Media, and mount onto Kraft. Squirt out a tiny
amount of Platinum Stickles onto the mat and pick up with the tiny end of a
stylus and add the dots of glitter to some of the hanging down garlands and to
the trees for light and to the ornaments. Do the same with White Opal and
Bisque Liquid Pearls just on the garlands. Let dry, and then adhere the trees
on with two sided tape. Add foam tape to the candles and adhere those on so
they look raised and 3D.


Supplies:
(Water Mister, Die Cut
Machine, Two Sided Tape, Scissors, Paper Trimmer, Die Pick, Ink Blending Tool, Detail
Water Brush, Foam Tape, Stylus Tool, Stamping Block)
-Ranger Surfaces: Kraft
Cardstock
-Ranger Tim Holtz Distress
Mixed Media Cardstock: Ivory
-Sizzix Tim Holtz 3D Texture Fade (Christmas 2023): Sparkle
-Ranger Tim Holtz
Distress Oxide: Gathered Twigs, Peacock Feathers
-Tim Holtz Idea-ology:
Classic Kraftstock, Metallic Confections Kraftstock, Metallic 3 Kraftstock
-Sizzix Tim Holtz Thinlits (Christmas 2023): Layered
Stripes, Colorize Trim A Tree, Colorize Candleshop
-Ranger Tim Holtz
Distress Ink: Walnut Stain
-Ranger Tim Holtz Distress
Watercolor Pencils: Antique Linen, Mustard Seed
-Ranger Tim Holtz
Distress Collage Medium: Matte
-Ranger Tim Holtz
Distress Resist Spray
-Ranger Liquid Pearls:
White Opal, Bisque
-Ranger Stickles:
Platinum
-Stamper's Anonymous Tim
Holtz Stamp Set: Modern Christmas
Thank you for all the comments on Instagram and Facebook about the projects. I really appreciate you all. I will be back next week. I hope your hands get creatively dirty soon!


😁 I love how you made these. Thank you for your process. I’m hoping to get the same result when I try the same background. It’s a nice solid colour that you’ve managed to get.
ReplyDeleteI am so sure I see this make on Tim’s YouTube. They are so beautiful 🤩 thank you so much 😊
ReplyDeleteI saw these on Tim’s YouTube I’m so sure it’s them. Absolutely beautiful 🤩 love them and thank you.
ReplyDeleteWOW! These cards are so perfect! I love every detail and you've shared your technique so beautifully to inspire others! Thank you!
ReplyDelete