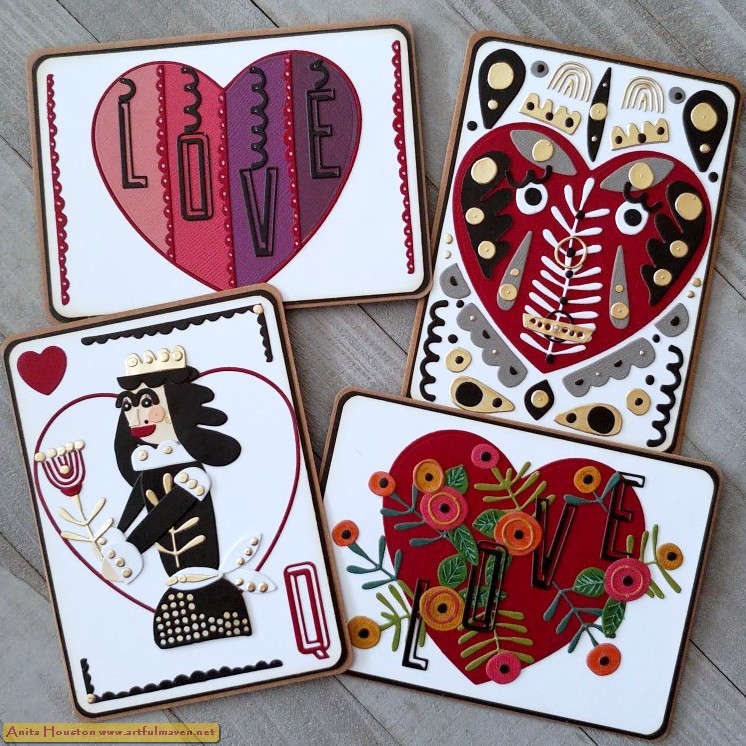
Welcome to February all you crafty people! Time is already flying by this year! Today, I have the third project shown in the Tim Holtz Sizzix Everyday Live, which is a Valentine Card made with the new True Love Colorize and Emporium Alphanumeric Thinlits. This card was really simple to make, and surprisingly fast considering all the pieces of chocolate, but they go together really fast when assembly line making and everything is laid out and ready to go. Speaking of chocolate, I am a self confessed chocoholic, so I loved making this card with the new dies, and they looked so good I couldn't help but take a bit ;0)! Enjoy!

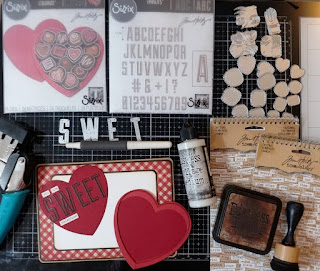
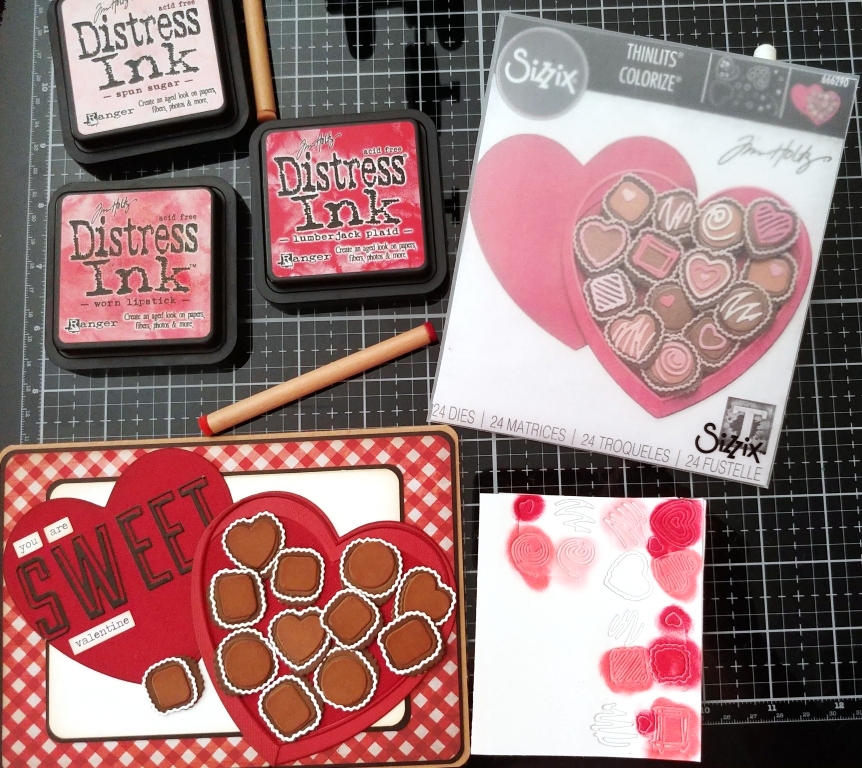
This is a 5x7 inch card. To begin with I cut and folded a Kraft Cardstock base card to 5x7, rounded the corners and ink with Gathered Twigs. Then I cut Black Kraftstock a little smaller, rounded the corners and mounted that on. Then I cut the patterned Christmas Stash paper a little smaller, rounded corners, and inked it and mounted. Then I cut the White Heavystock to 4x5.5 inches, rounded the corners, mounted it on black, rounded those corners, and then mounted it on to the card front. I die cut the chocolate box from the True Love set with three different shades of red and assembled it, inked the edges and mounted the top part of the box to the upper left hand corner, and the lower part of the box overlapping in the right lower corner. I die cut the 'SWEET' from the Emporium Alphanumeric Thinlits and and mounted those to the top box, and choose sentiments from the Chit Chat sets.
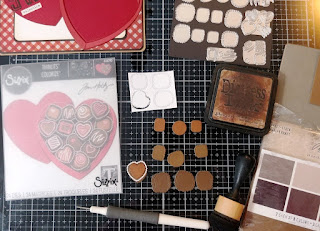
I assembly lined all the chocolate pieces, doing 12 all together using papers from the Neutral Kraftstock, and I assembled all the pieces except the decorating parts.
For the decorative parts, I die cut those using White Heavystock, and used Distress Ink to color them, and then added them on the chocolates where they go.
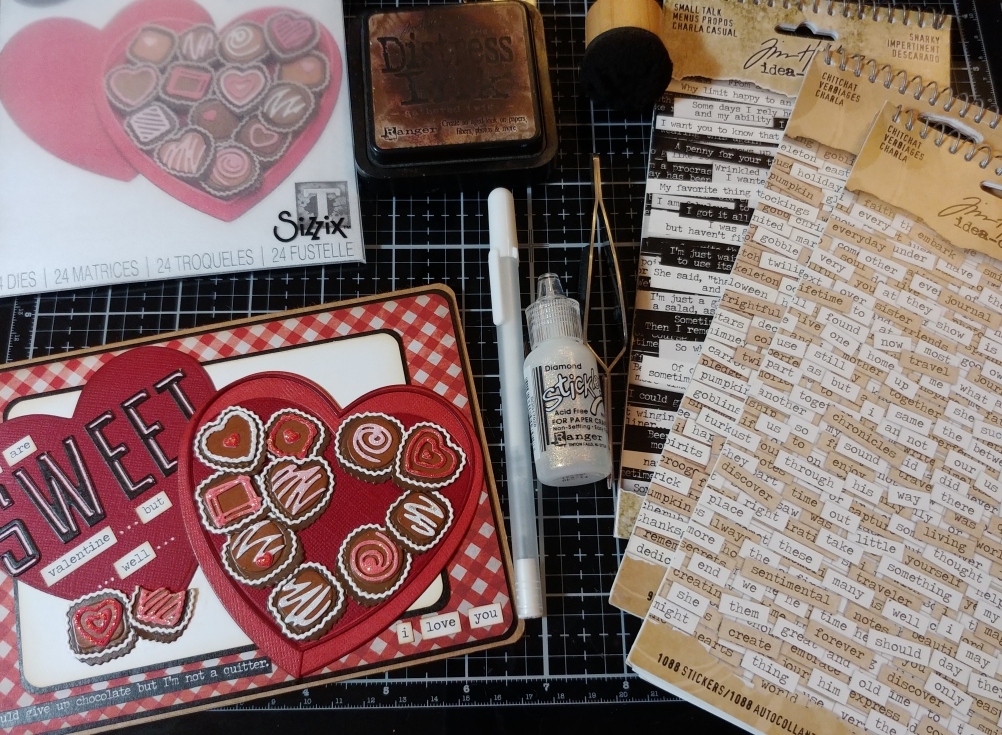
I added more sentiments and cut one of the chocolate pieces to look like it had a bite out of it. I used a white pen for the dots and I colored in the lines in open areas of the 'SWEET' word. Then I finished off using Diamond Stickles over all the decorative parts on the chocolates.


Supplies:
(Paper Trimmer, Two Sided Tape, Corner
Rounder, Die Cut Machine, Die Pick, Ink Blending Tool, Scissors, Craft
Tweezers, Detail Ink Tool)
-Ranger Surfaces: Kraft Cardstock
-Ranger Tim Holtz Distress Heavystock:
White
-Tim Holtz Idea-ology: Black Kraftstock
, Christmas Paperstash, Classic Kraftstock, Neutral Kraftstock, Seasonal Chit
Chat, Chit Chat, Snarky Small Talk
-Sizzix
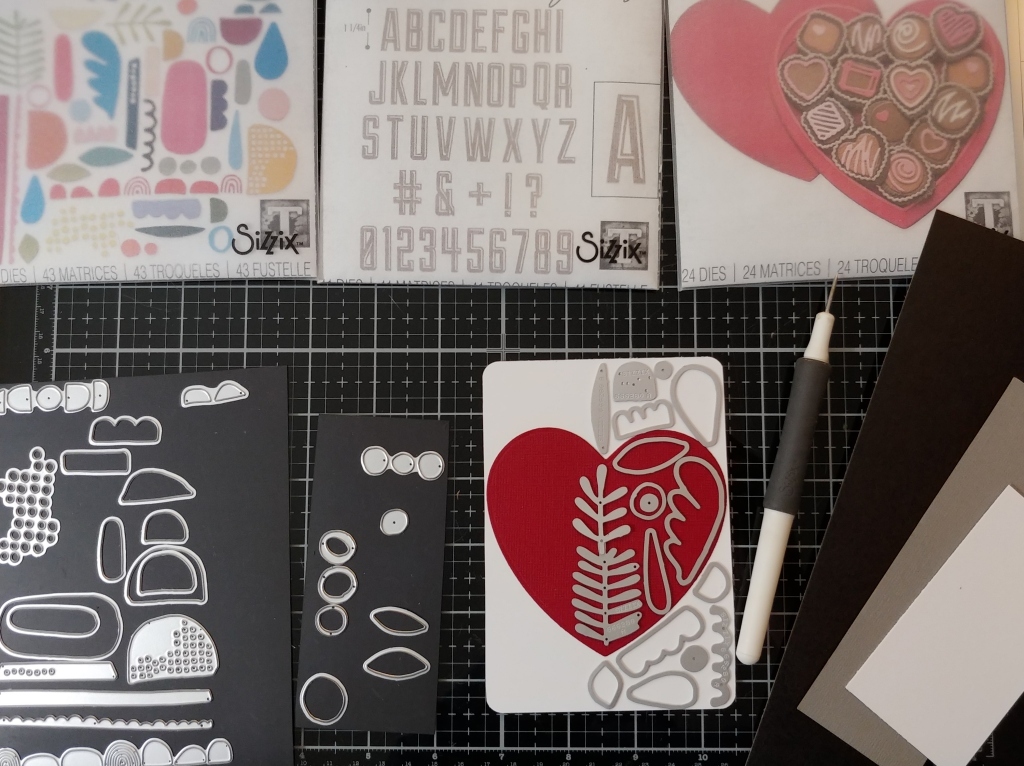
Tim Holtz Thinlits (Everyday 2023): Colorize True Love, Alphanumeric Emporium
-Ranger Tim Holtz Distress Ink: Gathered Twigs, Worn Lipstick, Spun Sugar,
Lumberjack Plaid
-Ranger Tim Holtz Distress Collage
Medium: Matte
-Ranger Stickles: Diamond
-White Pen
Thank you for coming by here and especially for commenting. I hope to be back later on this month, so until then, I hope your hands get creatively dirty soon!